
~ Cheese Baked Crackers/Cookies ~
I first got attracted to this recipe which promised ONLY 3 items (or 4 if water is counted) in the ingredients list. That was when my little girl turned one and I was reluctant to buy commercial products for her snack time consumption, in fear of the high salt and sugar content. I am of the opinion that I have better control over her food consumption if I make my own crackers.
Kids at their toddler-age or perhaps I should say kids of all ages just love shaping things. So, getting them to shape crackers/cookies can be a win-win scenario for both mummy and kiddo(s). I do not favour so much of making small crackers as they are time consuming and of a boring repetition. However, with the help my 2 years old, I thought it should not be too bad an idea trying out this cracker/cookie recipe again. She gets to develop some fine motor skills and I get to save some energy. Cookies shaping is also better than playing with clay doughs as we get to eat the final product. What a brilliant activity for a weekday morning!
I turned on my baking mode, bought the 3 ingredients and got a pack of metal cookie moulds from Daiso which has 3 patterns, a bear shape, a duck shape and a rabbit head. A pack with 3 moulds kept my 2 years old handy. I made some star shapes in a subsequent batch with the moulds I already have too. It is also a very attractive shape for my 2 years old girl. The smiles on her face when she gets to make her own star shapes was priceless. It is coming from that sense of achievement in her. She kept wanting to make more. Indeed, we had a productive morning with snacks that lasted us for a week.
During the baking process, the cookies smells so good. The crackers texture turned out to be light but not crumbly, making it easy for toddlers to eat without much mess. The crackers were so rich in cheese flavour, I feel that even if you are not a cheese lover, you will fall for it. The cookies are just so addictive. I conclude that Home-baked Cheese Crackers are always nicer to smell, crunchier to bite, richer in taste and fresher for the tummies. It is so addictive, as I was blogging about this, I feel like making another batch again!
Cheese Baked Crackers Recipe (Yields about 3 dozens) :
A. Ingredients
- 120 grams All Purpose Flour
- 60 grams Butter (cut into small cubes)
- 220 grams Cheddar Cheese (shredded for easier processing)
- 2 tablespoons Water
B. Instruments
- Cheese shredder
- Food Processor
- Rolling pin
- Any Cookies Mould
- Baking sheets (two 30cm x 30cm square sheets for crackers shaping and two 24cm pan base diameter round sheets for baking)
AMC Baking Method :
A. Making The Dough & Shaping the Crackers
- Blend All Purpose Flour with the butter cubes in a food processor/blender.
- Blend shredded cheese into the mixture until well mixed. Add water/milk to and blend till dough is formed.
- Shape dough into a 2 big round balls portion for easy handling and place them into 2 separate 20cm airtight combi bowl and refrigerate for 30 minutes to slightly harden the dough for easy shaping.
- Work on 1 portion of the refrigerated dough at a time. Place dough on a flat surface. Gently press and roll the round dough flatter and flatter until it is about 4mm thick.
- Cut into desired shapes with or without cookie moulds with the help of your little toddler. They love the shaping fun! Reroll the excess dough trimmed out from shaping.
- Place a round baking sheet on a flat plate (for easy transfer to the Hotpan later). Arrange crackers on the round baking sheet.
B. Baking The Crackers
- Preheat the pan unit with Navigenio heat level “3” to 50°C or “Meat Window”. Use Audiotherm as an indicator by turning it on, place on lid knob, indicating 50°C or “Meat Window”.
- When Audiotherm beeps, turn off both Navigenio & Audiotherm. Remove lid and place pan unit on the up-turned lid.
- Transfer 1 batch of shaped crackers with round baking sheet from the flat plate to the pre-heated pan unit.
- Cover pan unit with Navigenio turned upside down. Turn Navigenio on lower heat level “-“ with Audiotherm activated to bake for 8 minutes. (Subsequent batches for 10 minutes.)
- When Audiotherm beeps, turn off both Navigenio & Audiotherm. Remove all crackers to cool on a cooling rack.
- Repeat step 3 to 5 above for the second and subsequent batches of crackers. Store in an airtight container.
Tips :
- When baking batches of cookies with Navigenio, you may want to bake a few minutes longer for the second and subsequent batches. This is because the remaining residual heat in the pot reduces as the baking process for the subsequent batches goes on.
- For freshness concern, extra dough prepared was refrigerated can be baked 2-3 days later, only when the first batch of crackers run low. Afterall, baking with Navigenio means lower energy consumption as compared to a conventional oven. So, you do not have to break the bank, paying higher electricity bills for batches of freshly baked crackers. Toddler(s) get to have fun shaping again a few days later too.

Shredded cheddar cheese.

Cubed butter blended with All Pupose Flour.

Blend in the shredded cheese.

Well blended dough.

Rolled into a big ball on a slightly dusted surface! In this photo, I have not divided the dough into 2 yet.

Refrigerated dough rolled into 4mm thick.

Tada….all shaped by the little hands of my 2 years old!

Shaped crackers in the smallest oven in the world and ready to be baked.

Baking in progress with Navigenio.

Crackers baked for 8-10 minutes.
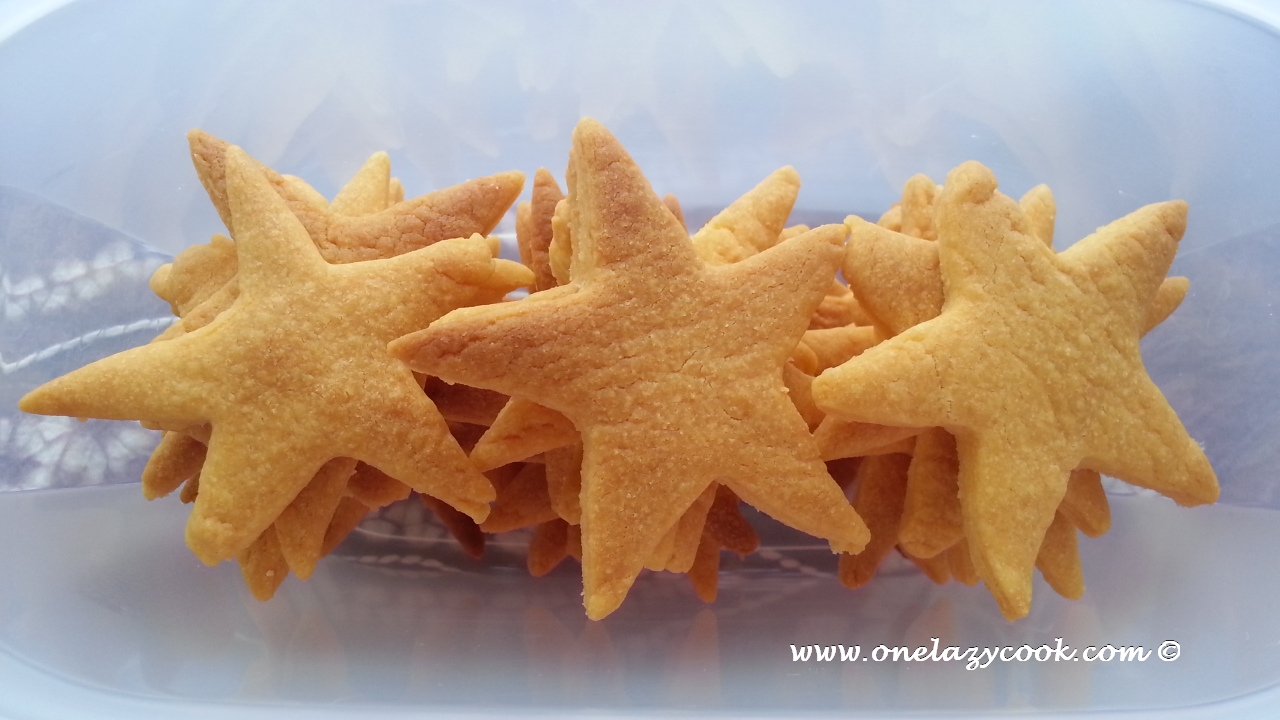
Star shape crackers done in another batch ready for the little tummies.